Wednesday, June 22, 2011

Model in a Bottle: A love story

I have searched far and wide for a product to help my makeup last all day. A few years ago I tried a setting spray from Cinema Secrets. It was very easy to use. You simply misted your face with the spray, let it dry, and Voila . . . you were ready to go. At first the formulation seemed perfect, but the more I used it, the more I began to notice its imperfections. The spray would feel heavy on my face, and during the application process, instead of spraying out of the bottle as a gentle mist, it shot out like a laser beam. . . you could imagine the danger I put myself in every time I used it. Another issue that came up was the fact that my makeup would look really blotchy anytime I had to touch it up. Not a good look! The idea of a setting spray was appealing, and I wanted it to work, but I found myself back to square one on discovering the perfect product that would help my makeup last all day.  
It's a 2oz bottle, and it holds over 300 sprays per bottle. With camera flash. 

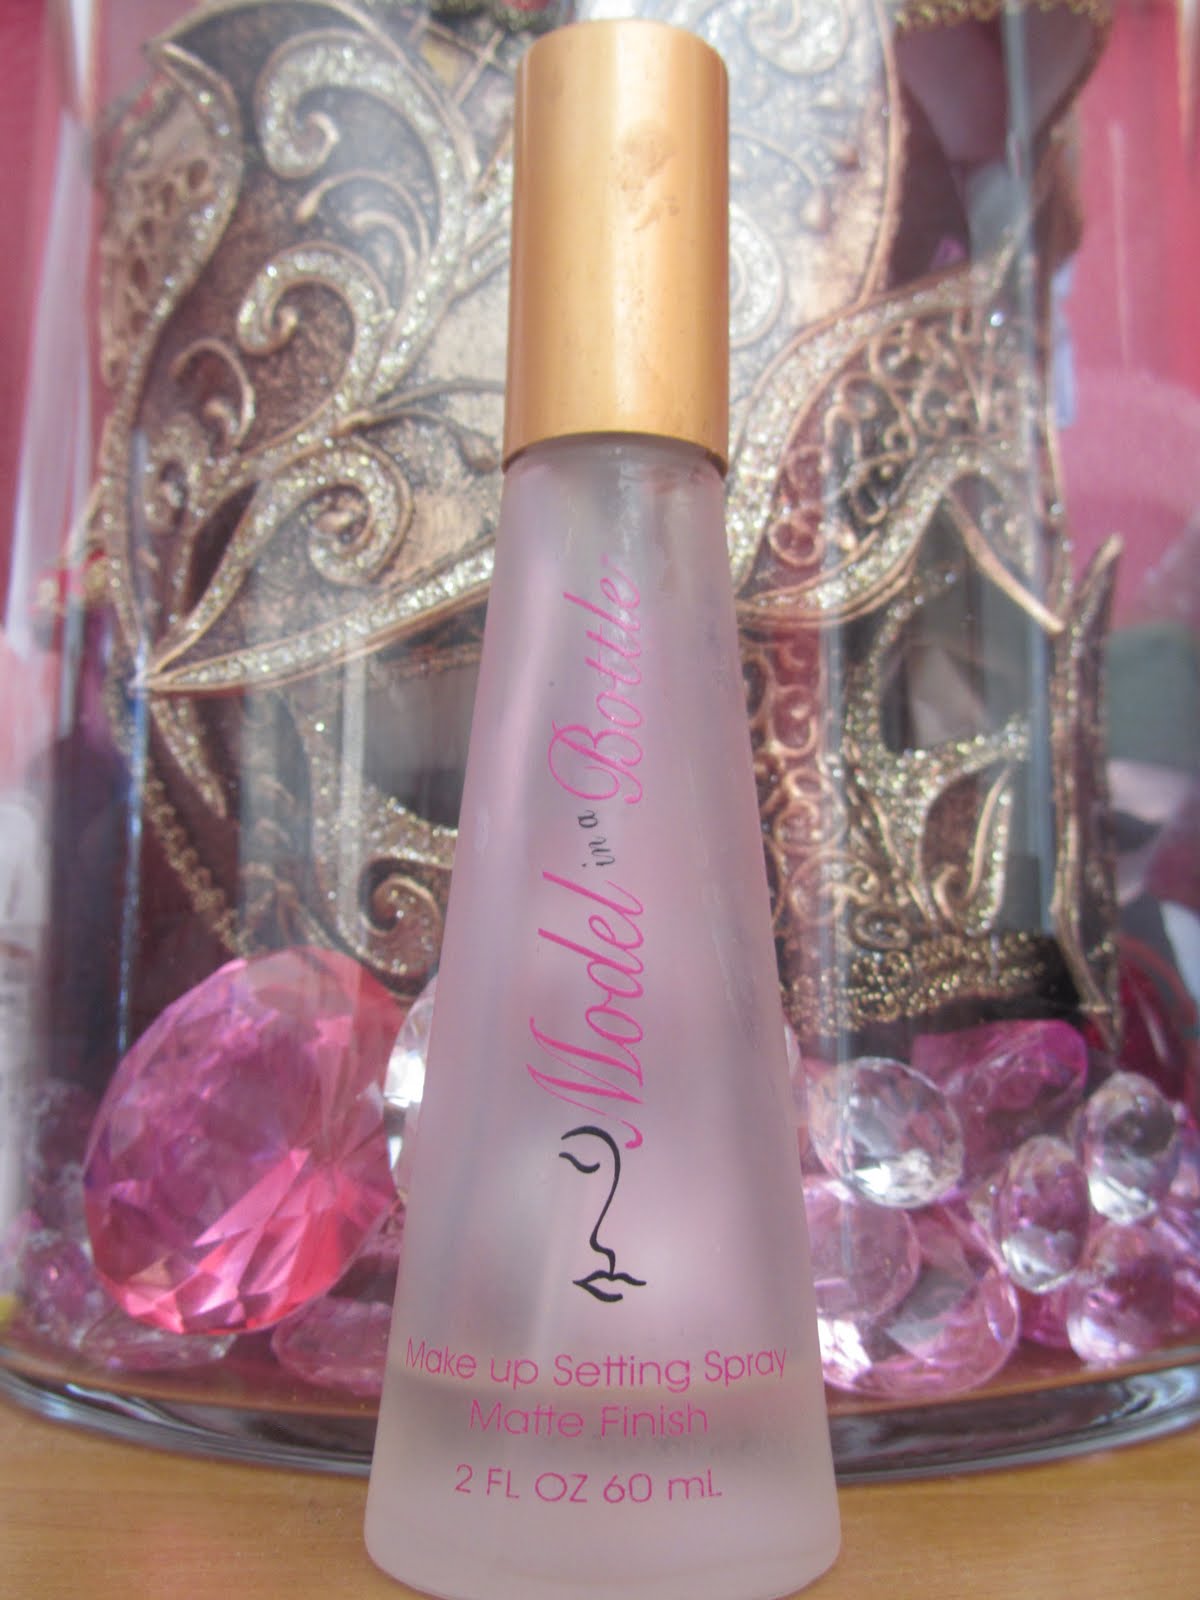
You can see the packaging a bit better in this one. Without camera flash.
It was not long after that I crossed paths with perfection. Every year I go to IMATS Los Angeles, and if my memory serves me correctly (I usually like to add a little drama & pizazz to a story) this is how I was introduced to Model in a Bottle. I was walking down an aisle at the convention aimlessly and as I looked up past some vendors there was a light beaming on a particular booth and a choir singing right next to it. I thought to myself, "I wonder what that is," and I felt the sudden urge to run over to the warm and captivating booth. As I dashed over to the booth it was like I warped into another world: the world of Model in a Bottle. My outfit was transformed into a beautiful ball gown; my hair and makeup were flawless. I was greeted with a spritz of Model in a Bottle on my face to help my flawless look last all day. As the fine mist landed on my face, it didn’t feel heavy, and it had a lovely scent. So many things were happening all around me; I couldn't help but be fascinated. For example, they served cupcakes that were ZERO calories and other tasty treats and offered champagne that flowed from a fountain. Every person that walked by had flawless makeup that looked like it was freshly applied. I knew it had something to do with the magical spray! Then finally, there it was on the display, Model in a Bottle. Once I had it in my hands I could feel it was special, and it really was! I’ve been using it for the past 2 or 3 years and I’ve never looked back. The real story of my introduction: I walked up to the booth and decided to try it and I fell in love.

This is my makeup at the end of the day. I did NOT touch up. Although, maybe I should have applied at least a little lip color. I did use paper blotters to take some of my shine away. Also, it was a warm day, and it lasted.

My eye makeup didn't crease at all! I did have on more blush, but the flash from my camera washed me out.
What I love about it:
·         Helps my makeup last all day
·         The mist is fine, and settles nicely onto the skin
·         I do touch up, but not nearly as much as I did before I started using it
Tips:
·         If it does happen to leave droplets on your skin, a quick fix is to lightly blend using a tapping motion with a duo fibre brush.
·         Apply it once your makeup is done and your mascara is completely dry and keep your eyes closed when you spray it
·         I usually do about two to four sprays for my whole face
Perfect for:
·        Everyday use
·         Traveling, I always take mine when I travel, it’s a must
·         Weddings or any special occasion
·         Clubs or lounges or just going out
Quick note: I know to some people the scent is strong (it’s a fresh/clean scent), I really like it though. Also, before I forget, if you have sensitive skin they make a sensitive skin formula of Model in a Bottle. If you go to their website they have a list of retailers that sell Model in a Bottle, just type in your zip code. Check it out, Model in a Bottle. If you’ve tried it tell me what you think in the comments below.

Nail of the Day- Yummy Mummy

Today’s NOTD is a color called Yummy Mummy by butter London. It’s a really pretty nude color. It has a slight shimmer, but it’s not noticeable unless you really look at the nail. It’s an opaque color, after one coat it covered my nail. I applied a second coat for safe measure. This is the first time I’ve tried butter London. I’ve seen it around, but couldn’t get myself to pay that much for a polish. They carry it at Ulta and I was able to use a coupon on it. I’m happy I got it. Have you tried Yummy Mummy or any butter London? Let me know what you think in the comments below.

Monday, June 13, 2011

Nail of the Day- Pick your favorite

Today’s nail of the day is two different nails. I want to know which nail look you like better. They are two completely different looks. The first is an all black nail with a gold glitter accent nail. The second is a purple polish with silver shatter polish over it.  


I would love to hear your thoughts, please comment below and let me know which you like better. Thanks! 

Summer/ Beach Essentials

Summer is fast approaching and most of us are getting ready to spend some time at the beach! I don’t always wear makeup to the beach, but sometimes I like to look more polished and put-together when I go. Also, I’ll take some products for a quick application, in case I need to go somewhere after the beach. Here are some of my summer/ beach must-haves and tips.

Before I leave the house:
·         I wear bright color polishes on my toes and finger nails in the summer; I love a bright pop of color!
·         Hair: I have naturally wavy (thin!) hair; after I wash it I add Moroccan Oil to give some shine and let Mother Nature handle the rest. It usually gets wavier at the beach
·         Prep my skin (cleanse and moisturize) I like to mix in my SPF with my moisturizer
·         Prep my lips: I use the Mary Kay satin lips lip mask. It makes them extra soft and moisturized. Then I apply my chap stick (preferably one with an SPF)
·         Add a little base: Tinted moisturizer or Origins VitaZing. A touch of bronzer and a pop of cheek color
·         Then I’ll add some definition to my brows, otherwise they look sad
·         I prime my eyes and sweep a light color across and coat lashes with some mascara
·         A quick swipe of gloss and I’m ready to go!
·         Quick note: I know it seems like a lot of steps, but I’m usually done in less than five minutes when I do a quick application
Colors with a pop! From left to right: island girl in Waikiki Color; Sinful Colors in Frenzy; China Glaze in Pool Party

Just an idea for a bright color with an accent nail. I did this as my NOTD in my last post.

Gives my hair shine, conditions it and smells great.

I use Obagi or Neutrogena as my sunblock and mix it with my moisturizer.

I love the Mary Kay Satin Lips, it softens and smoothes my lips. I add chap stick after to keep them moisturized.

To even out my skin I'll use Origins VitaZing or Smashbox Cooling tint (I sometimes add a luminator to Smashbox for an extra glow)
Bronzer! I love them all! (Right to left: Bourjois Bronzing Powder in 52; Physicians Formula in Light Bronzer; Hourglass in Mirage) at the moment I'm using the Hourglass a lot and it says it's waterproof.
 
What I take with me (to the beach) that I’ll need there or to add on to the look for later:
·         Travel brushes
·         Makeup touch-ups: gloss, blush, powder, chap stick with SPF
·         Palette for eyes: to give them a little more definition. Since I prepped my eyes earlier I just add some more definition and I’m ready to go out
·         Sunscreen for my body
·         Sunglasses
·         WATER: I try to drink a lot of water, especially in the summertime
·         Hat or small towel: I don’t like to tan my face, that’s what bronzers are for! And I’ve burned my scalp before and it really hurts!!!
·         Face spray: The Body Shop Vitamin E Face Mist, it feels great and freshens up my skin
·         Perfume or body spray: something easy to travel with

For a pop of color and to touch up with I really like Tarte Amazonian Clay blush in adored or Nyx mosaic blush in #6 Rosey.

Too Faced Natural Eye Palette. This is a great palette for light natural look or a dramatic smokey look. 

Products that are always with me especially in the summer: My skin tends to get shiny and sometimes my makeup feels like it might melt away, so I like to touch up throughout the day.
·         Powder
·         Blush + brush to apply
·         Lipstick and gloss
·         Chap stick
·         Eye brightener or concealer: if my eyes need to wake up!
I hope you enjoyed reading my summer must-haves and tips. Let me know if you have any other must-haves or tips that you would like to share in the comments below. Thanks!!

Thursday, June 9, 2011

Nail of the Day

This is a fun look I wanted to try out. I didn’t know how it would turn out, but I love it! Accent nails are really popular right now, and I wanted an extreme glitter accent nail.


Products I used:
·         China Glaze: Pool Party
·         Gold Glitter


Tip: After I applied the last coat of color polish, before it dried, I dipped it into the glitter container. Then I pressed lightly on the glitter to secure it on my nail. I let it set then I applied a clear top coat, and voilĂ ! Gorgeous nails!!
Hope you enjoyed the NOTD. Let me know what you think in the comments below. Also, let me know if the tip helped you create your accent nail. Thanks!

Monday, June 6, 2011

Haul Time

The past few weeks I have gone crazy shopping for cosmetics! I’ve decided to do a haul, swatches and a quick review of the products that I have purchased. Enjoy!


Here’s a list of the products:
·         Nars Velvet Matte Lip Pencil in Roman Holiday
·         Urban Decay 24/7 Glide-On Shadow Pencil in Sin
·          Nars Illuminator in Laguna
·         Origins VitaZing SPF 15 (No shade name for this product)
·         Physicians Formula Happy Booster in Light Bronzer
·         Bourjois Bronzing Powder in 52
·         Tarte Amazonian Clay Long-Wear blush in Dollface
·         Tarte Amazonian Clay Long-Wear blush in exposed
·         Tarte Smooth Operator
I’ve been obsessed with bronzers and as you can see almost half of the products are bronzers or bronzy-type products. Here are the swatches and I’ll give a mini review on the products. Unless I haven’t used the product long enough, but I’ll let you know. I’ll be showing it in the same order that I listed the products above.


This is the Nars lip pencil in Roman Holiday. It’s such a pretty color! It gives me the perfect pink lip. I usually top it with a gloss (any gloss), but sometimes I leave it as is.


This is the Urban Decay pencil in Sin. It’s great on its own. I’ve been using it as a base and it really holds eye shadow throughout the day. I think I need to test it a bit more though.


This is the Nars illuminator in Laguna. I absolutely love this product!! It gives me a sun-kissed look that I’ve been trying to perfect. The bottom is the illuminator applied directly onto my skin without blending it in. The top is the illuminator slightly blended. It may look intimidating at first, but it blends to a really nice glow. I use it two different ways.

·         The first: I apply a small amount all over my face then apply my foundation over it. The result is a great glow to my skin with a natural bronze look to it. If I apply too much (which I have) it doesn’t look natural on me, so I’ve learned a little at a time and I can layer it.

·           The second: mix a small amount with my foundation and apply all over my face. It gives the same result, but this application is faster. I did it the first way in the beginning to figure out the perfect amount of bronzer for me, now I usually apply it the second way.  


This is the Origins VitaZing. I heard about this product through some of the YouTube beauty gurus and I wanted to try it. When I looked online and read the reviews I decided not to buy it. A lot of the reviewers said that product gave their skin an orange tint. Call me crazy, but I don’t want to look like an Oompah Loompah! Well I obviously bought it, and I really like it! It doesn’t give my skin an orange tint; instead it’s more of a light bronzy glow that evens out my skin. If you are interested in the VitaZing test it out first. I have tried products in the past that have left an orange tint on my skin and it was supposed to be a bronze tint. That’s definitely disappointing. The bottom is the VitaZing applied directly onto my skin without blending. Above it I applied a little and blended it in. If you look closely you can see a bit of coverage from the product with a nice tint to it. It gives a light coverage on my skin. This product is perfect for the beach, pool, and day-to-day wear. Perfect for the summer season!!


These are the two powder bronzers. Physicians Formula is on the bottom and Bourjois is on top. The PF bronzer has a lot of shimmer to it and is a very light bronzer. I have used it as more of a highlight color. I admit I bought it because of the packaging and I was curious to try it. If you look at the picture at the very top with all the products it’s the bronzer with hearts all over it. When you mix all the colors together it gives a great color combo. What I didn’t realize is it has a “mood boosting effect!!” What’s that, you ask… Let me fill you in. It is infused with natural plant extracts that have been shown to promote a feeling of happiness. It smells like Violets. I really like the smell of it. I usually apply a small amount over my blush to give it a little more of a glow.  I’m not sure about the happy booster effect; I think I need to test it out more. The Bourjois bronzer has very subtle gold flecks mixed in it. I saw this one a lot on YouTube (pixiwoo & SWalkerMakeup), and I wanted to get it. It was a little bit of a hassle, since they don’t sell Bourjois in the States anymore, but I managed. This bronzer is scented and it smells like chocolate, it’s pretty amazing! It applies nicely and doesn’t look muddy. I apply it with a light-hand, otherwise it would look overdone.


These are the two blushes from Tarte. The bottom is dollface and the top is exposed. The packaging says it is a long-wear blush, and it does last longer than my other blushes. I really like dollface, it’s a matte pink and absolutely gorgeous! It gives your cheeks the perfect pop of pink. Exposed is still growing on me. I thought it would be more bronzy, but it’s more of a dusty rose.


Finally, smooth operator by Tarte. I had a sample of this a while back and it lasted me over a month and I really liked it. I use it mostly under my eyes to set my foundation or concealer.

Hope you all enjoyed my haul, swatches, reviews, and my obsession with bronzers! J Let me know if you’ve tried any of the products I’ve shown and tell me how you liked it in the comments below.


Wednesday, June 1, 2011

Sigma Brush Kit- Make Me Crazy

I’m going to be reviewing Sigma’s Make Me Crazy brush kit I recently purchased. I am going on a mini trip to Vegas next week with my boyfriend Mark. Usually when I go on a trip I pack so many brushes and makeup. This time though I want to test and see if the Make Me Crazy kit is enough for a trip to Vegas for a woman who always over packs. Does it have everything I need? I’m not reviewing the quality of brushes. I love Sigma brushes; this isn’t the first kit I’ve purchased from them and probably won’t be the last. I am familiar with their line and I love them. In case you are not familiar with the line; they have amazing quality brushes and they’re affordable! What’s not to love about that?!?!?!? One thing before I continue I am not taking the foundation brush, I personally prefer the F80 (Flat Top Kabuki). I haven’t used a foundation brush since Sigma came out with the flat top kabuki (my brush still has the old numbering! J). Stay tuned to read all about the results from my trip……  


RESULTS:
I did it!!!!!!!!!! This may have not seemed like an extreme experiment, BUT for a woman who always packs a ridiculous amount of brushes I wanted to see if I could do it. It was definitely fun to use brushes in different ways. I don’t really use a duo fiber face brush (F50), but I finished my look with powder using it and I fell in LOVE! It gave such a polished clean look. This set is perfect for a weekend trip, mini vacation, or an overnight stay. I think for a longer vacation I would pack a few more brushes, but this is a great start for it. Also, I love the case for it. It fit nicely in my suitcase and it didn’t take up much space, and I think most of us know any extra space in a suitcase is nonexistent (at least for me), especially when going to Vegas! So the case is perfect.
Brushes I loved:
·         Duo Fiber (F50)- perfect to give any look a flawless finish
·         Large Angle Contour (F40)- perfect for cheeks
·         Tapered Blending (E40)- perfect blending brush
·         Eye Shading (E55)- perfect for packing on the color
Brushes I missed:
·         Short Shader (E20) - I believe that is the numbering I have the old numbering on it. Perfect for applying color under your eye
·         Large Powder (F30) - Again, I have the old numbering. Perfect for applying bronzer and I applied a lot in Vegas!
·         Flat Top Kabuki- I know I cheated by bringing my flat top kabuki, but I can’t live without it! I would have missed this one if I didn’t bring it. perfect for giving your foundation an airbrushed look
This kit includes a lot of my favorite brushes so I was very satisfied with taking it on a trip. I’m going back to Vegas in July and they’re definitely coming with me plus a few extras.